At the recent Elementary Technology Conference, I was able to use my phone as a remote to control my Google Slide presentations. Thanks to the Remote for Slides Chrome extension, I wasn’t tethered to my laptop. I was able to walk around the room with my phone and advance my slides as I presented. When presenting, why be stuck in the front of a room when you don’t have to be?
Features of the Remote to Slides Extension
The free Remote for Slides extension (@remoteforslides) was created by Henry Lim, a Google Developer Expert in Web Technologies. Some of the features on the extension include:
- Move Slides Forwards or Backwards: You can move your slides forward or backward by tapping a button.
- Timer: A timer allows you to look at the time for which you have been speaking for. This is critical since you don’t want your presentation to go over its scheduled time.
- Speaker Notes: Speaker notes allow you to refer to your notes during your presentation. This really helps you remember that important information you are trying to convey to your participants.
Installing the Remote for Slides Extension
To install the extension:
- Launch the Chrome browser and go to the Remote for Slides Chrome extension.
- Click the Add to Chrome button.
- Click Add extension in the confirmation box.
- The button changes to Checking. Then it changes to Added to Chrome when the installation is complete.
Using Remote for Slides
To begin controlling your presentations from your phone:
- Open your presentation in Google Slides.
- On the top right, click the "Present with Remote" button.
- Wait until the presentation is fully loaded.
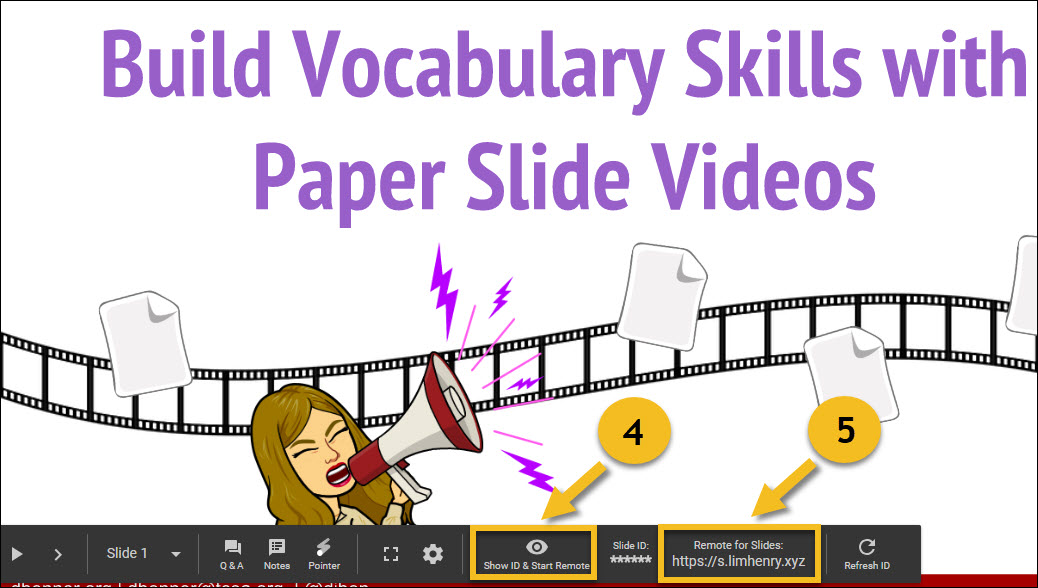
- Click on the "Show ID & Start Remote" button to view the 6-digit code.
- Open http://s.limhenry.xyz on your phone and enter the code that appears on the page.
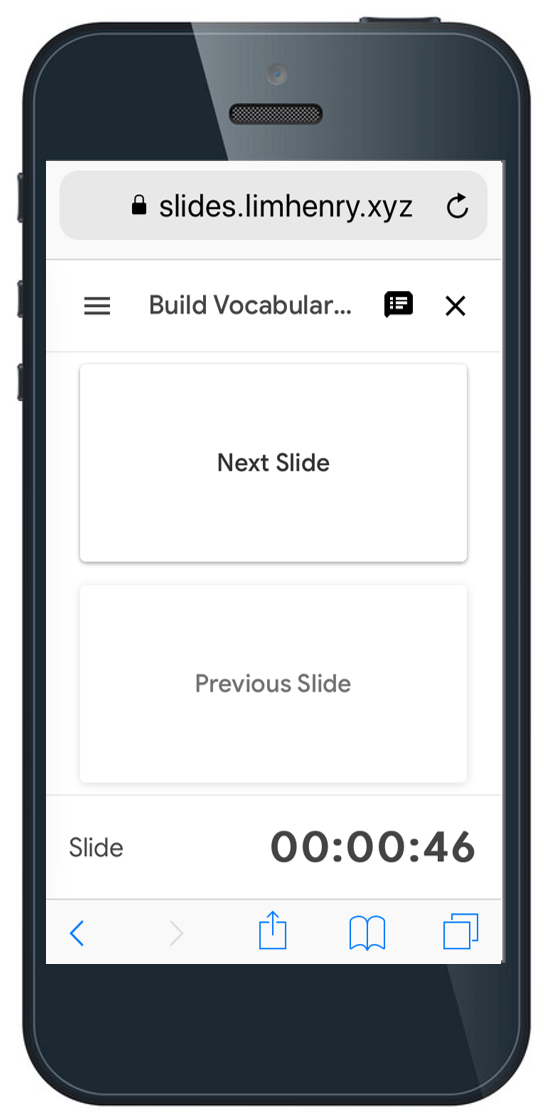
- Press the Connect button and you are ready to go! Your phone is now a remote, with two large buttons to move back and forth between slides.
Try It On Your Phone
The next time you have a presentation, try using your phone as the remote. It works like a charm. Also, don't forget to check out Fabulous Presentations with Google Slides to learn how to create more moving and engaging presentations.
Ready to blend Google Suites for Education tools into inquiry-based lessons? A wide variety of approaches exist, none more popular than the 5E Model. Let's see how the 5E Model combines with Google Suites for Education to make learning engaging.
Google-izing the 5E Lesson Plan Model
The 5E Lesson Plan model has five components. Those components appear below. With these, you will see specific examples of Google Suites for Education tools.
1- Engage
Boredom in schools has a dire effect on learning. Bored students perform less well on tests (Source). In one research study, over half of students defined their school experience as boring. The 5E Lesson seeks to engage students so that they will retain learning. How can you accomplish this with G Suite tools?
One approach involves creating virtual field trips. Rather than giving students a textbook map, have them make one. Students can use Google Tour Builder to create an interactive journey. See this example for language learning combined with history.
Another approach may involve having students craft their own infographics. View this social studies infographic that captures the essence of infographics in schools. You can see many more examples of Tony Vincent's #classygraphics online.
2- Explore
Once you engage students in learning, make time for independent and group exploration of the topic. This allows them to develop and pursue interests grounded in the topic. Explore topics in such a way that students must figure things out without all the details being filled in for them. In PBL, this is known as presenting students with an ill-structured problem.
When using G Suites for Education tools, use the new Google Sites to create a digital breakout. Why does this approach work? It challenges students to pay close attention to details that lead them to create their own gestalt of the topic. The mind, psychologists say, has "an innate disposition to perceive patterns." Not sure how to create your own digital breakout with Google tools? See this list of resources.
 Get the editable version of this via David McGeary
Another way to use G Suites is to create a digital choice board or multimedia text set (MMTS). Find ample examples of both online.
3- Explain
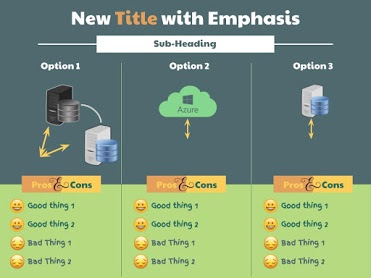
Students have had the chance to be engaged. They have explored the topic in detail, so now you can start to share your expertise with them. One way to scaffold student learning has them creating a T-chart to help them examine two aspects of an object, situation, or event. This allows them to compare diverse ideas.
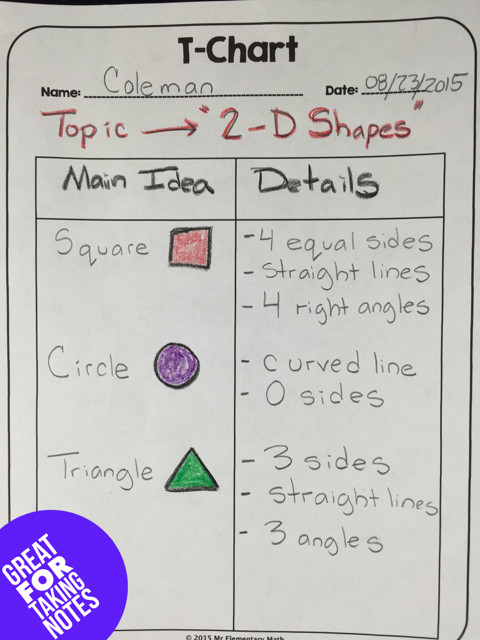 Image Source: Frazier Statue
You can create T-charts in Google Slides, Google Docs, or Google Drawings. Find other chart templates here.
4- Elaborate
Learners may often need to revisit a topic from a different angle. Using differentiation techniques, you can empower students to dig deeper. The purpose of the focused hyperdoc is to allow students to explore a topic from various angles. For example, elaboration may involve enriching or extending a lesson. For other students, revisiting an activity at a slower pace with more teacher support may be needed.
One simple approach involves a focused hyperdoc. You can create a hyperdoc that either extends, enriches, or scaffolds student learning. Rather than create a detailed hyperdoc, use one of the simpler templates available in Google Docs.
5- Evaluate
Ready to assess? Have students use G Suites tools to create visual representations of their ideas. These creations can take many forms, whether Google Sheets graphs of data or something more creative. For example, students can design digital ebooks with Google Slides or Google Docs and then export them to ePub ebook format.
Putting It All Together
It's easy to imagine any one approach as the only one to use. Blend them to create engaging lessons that showcase student learning.
With the new Alexa Blueprints program, Amazon is making it possible for anyone, including educators, to create their own Alexa skills easy-to-use templates. You don't even need to know how to code or program. Teachers can create quizzes in minutes by filling in just a couple of blanks.
Getting Started with Alexa Blueprints
To get started, go to this website. Log in with whatever Amazon account you use for Alexa. Once you log in, you’ll see a list of possible skills you can customize. To create your quiz, follow the three easy steps below:
Step 1: Pick the Quiz Template
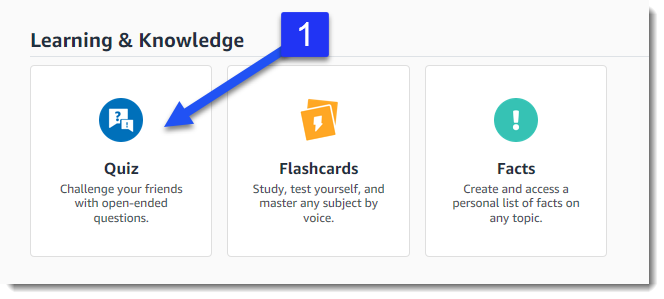
Under the Learning & Knowledge section, select Quiz. Then select the Make Your Own button.
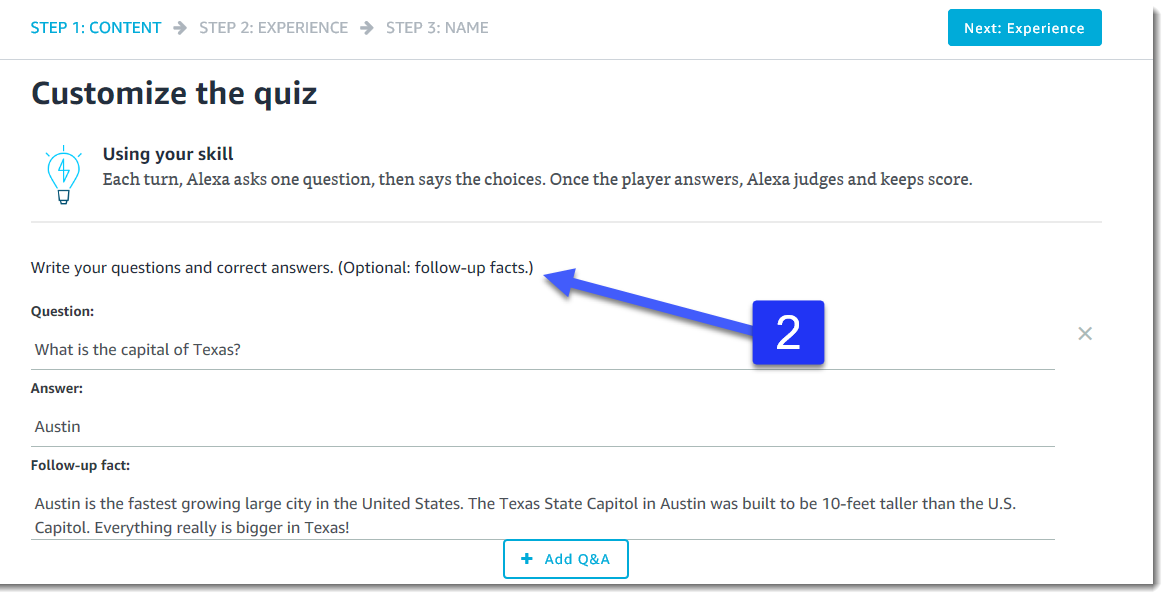
Step 2: Fill on the Blanks
Enter your questions and correct answers in the template. Note that you can include follow-up facts if you would like. With this in mind, you can enter more details about the question to increase student learning. After entering your questions, select the Next: Experience button.
 Now you can customize the Alexa experience in the following ways:
- Add you own individualized introduction.
- Select a unique sound that will play along with your introduction.
- Customize the quiz responses in order to provide personalized feedback when correct or incorrect answers are selected.
- Add custom sounds, like crowds cheering, when a correct answer is selected in order to heighten student engagement.
 Lastly, select the Next: Name button.
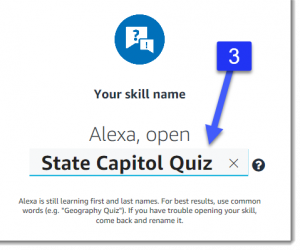
Step 3: Use It
Enter the name of your quiz. However, be aware that Alexa is still learning first and last names. For best results, use common words. Now, select the Next: Create Skill button. Wait a few minutes and begin using your quiz with your students.
What’s Next?
To sum up, teachers who have access to the Amazon Echo technology should be creating tons of quizzes with this easy-to-use template. It’s a great way to create an interactive formative assessment and promote student learning through engagement. In addition, some other templates include flash cards and storytelling tools that let you create your own interactive and personalized stories. Give them a try.